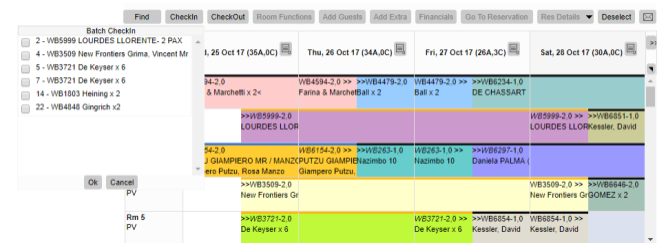
Room check-in is done when the guest arrives at the lodge. The check-in functionality is only available on a Property environment, see the Working with different Environments and ResRequest Architecture tutorials to understand what this means if you are not familiar with this concept. It is important to understand the advantages of using the check-in functionality, how a single check-in is processed and how to do bulk check-ins. You will be working off the Rooming calendar, where all check-ins are processed.
Why check in your guests?
- If you have interfaces to POS or Telephone management systems, the costs can only be charged to Reservations that have been checked in.
- It enables you to report on the expected, planned and actual arrivals (Room discrepancy report) which shows if someone hasn’t arrived.
- Only rooms that have been checked in may be checked out and checking out highlights whether there are outstanding folios on the Reservation. This enables you to settle any debts before your guest leaves.
Check in guests
Bookings need to have Confirmed status, be arriving on a future date and be allocated to a room before you can check them in. Once roomed, follow these easy steps to check in guests.
- Select the relevant booking from the calendar (it will highlight in green).
- Select the ‘Check in’ button (this button will not be available for reservations that are not roomed / already checked in / arriving on a future date.)
- A pop-up will appear to inform you that the room has been checked in. Click on ‘OK’.


